
AI Image Generation Roadmap 2025: From Zero to Proficiency (Beginner's Guide)
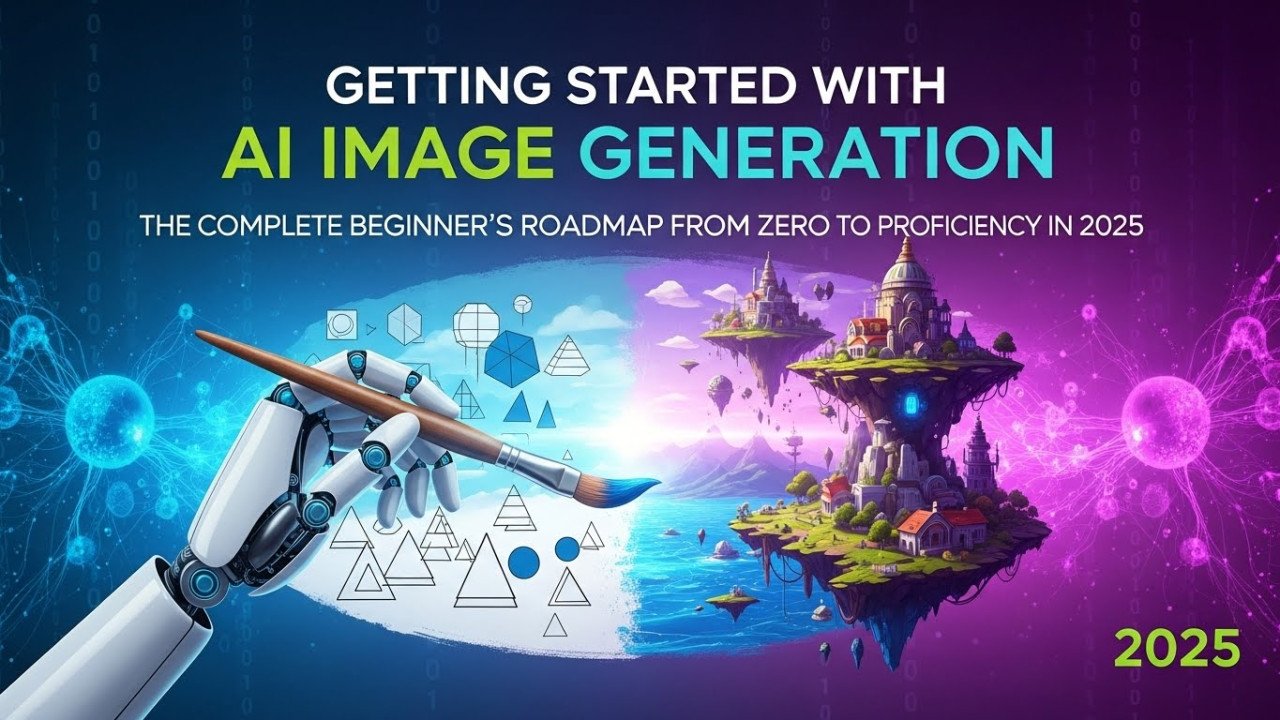
Getting Started with AI Image Generation: The Complete Beginner's Roadmap from Zero to Proficiency in 2025
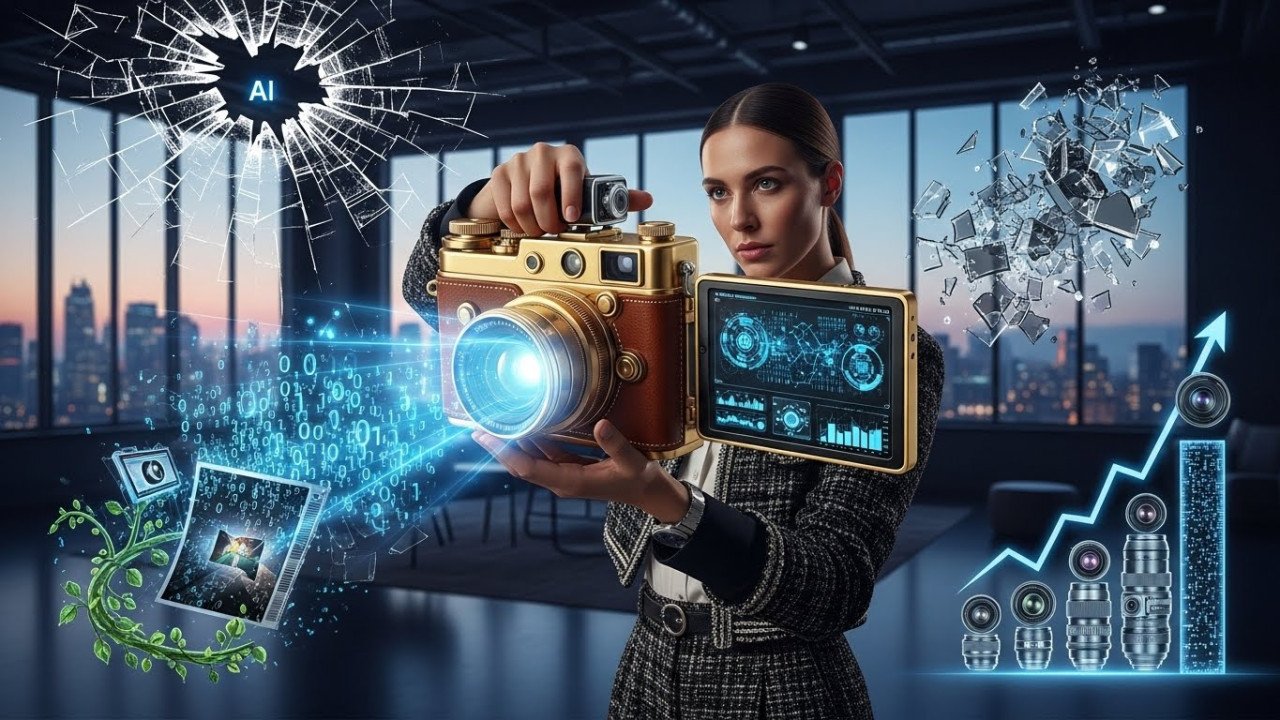
Artificial intelligence image generation appears intimidating to newcomers—filled with technical terminology, unfamiliar platforms, and confusing creative possibilities. Yet the reality proves remarkably approachable. Creating professional-quality images requires no artistic skill, no design background, and no technical expertise beyond basic computer literacy.
This comprehensive beginner's guide walks through AI image generation systematically—from foundational concepts through platform selection, practical creation, and quality evaluation. By the end, you'll understand not just how to generate images but why specific approaches produce superior results.
Understanding the Fundamentals: What AI Image Generation Actually Is
Before creating anything, understanding how AI image generation works provides crucial context improving results measurably.
The Conceptual Foundation
AI image generation represents a statistical prediction problem. The system has been trained on billions of images with accompanying text descriptions. Through this training, it learned correlations between language and visual patterns: the word "sunset" correlates with specific color ranges, lighting qualities, and atmospheric characteristics observed in billions of sunset images.
When you provide a text prompt, the system:
Parses your description into component concepts (subjects, adjectives, settings, styles)
Retrieves relevant patterns from training data matching your description
Synthesizes novel imagery combining learned patterns in ways matching your prompt but producing genuinely new output
This process isn't creating from nothing—it's sophisticated pattern synthesis creating statistically likely visual representations of your described concept.
This understanding matters because it illuminates why specific prompting approaches work better than others. Vague prompts produce vague results because they describe concepts without sufficient specificity. Detailed prompts guide systems toward precise visual outcomes.
The Limitations You Should Understand
AI image generation doesn't magically produce exactly what you envision. It generates statistically probable imagery matching your description. This probabilistic nature means:
Occasionally unexpected results: Even perfect prompts sometimes generate surprising outcomes
Anatomy challenges: Human hands, complex poses, and anatomical accuracy remain problematic
Text rendering issues: Readable embedded text remains difficult for most systems
No true originality: Systems remix training data patterns rather than creating entirely novel visual concepts
Understanding these limitations prevents frustration. You're not describing "create this exact image"—you're directing probabilistic generation toward your intended vision.
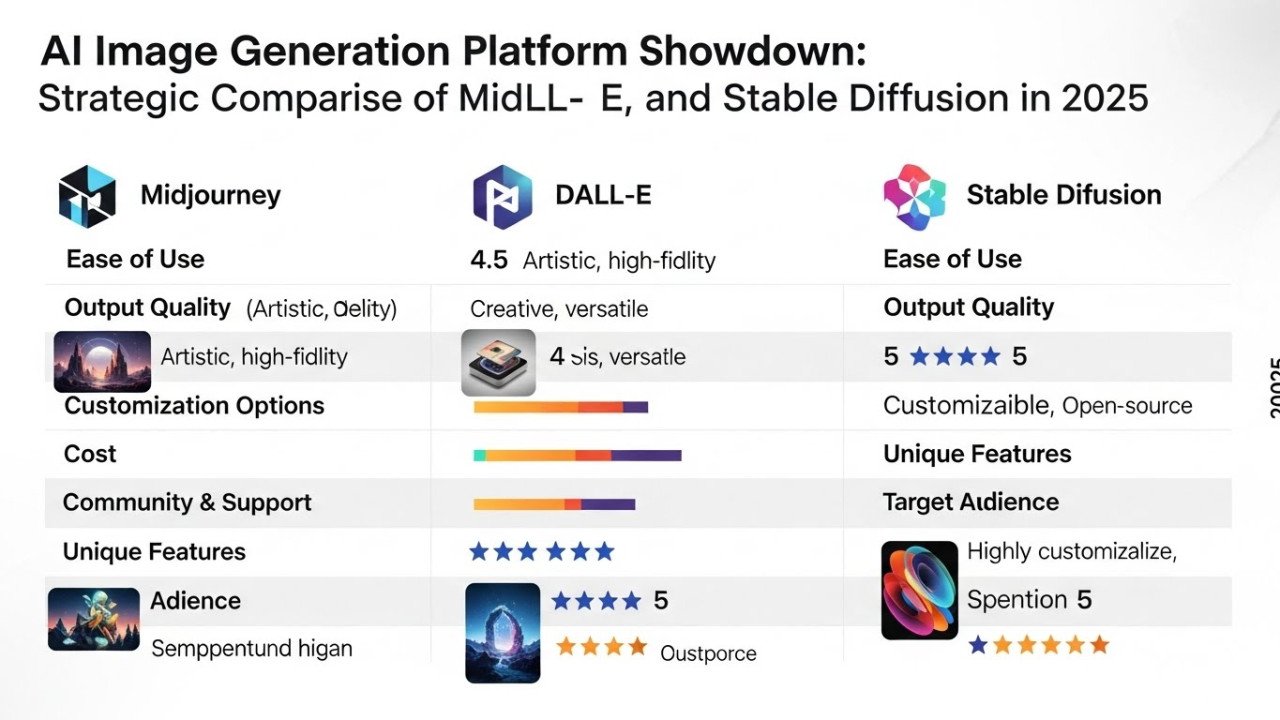
Step One: Choosing Your First Platform
With dozens of AI image generation options, selection paralysis affects many newcomers. Rather than comprehensive comparison, this section recommends optimal starting points based on your situation.
For Absolute Beginners with Minimal Commitment
Start with: Microsoft Copilot Designer (powered by DALL-E 3)
Why this choice:
Requires only Microsoft account (free)
No learning curve—interface proves intuitive
No watermarks on generated images
15 daily images free—sufficient for learning
Exceptional output quality
Conversational ChatGPT interface feels natural
Time to first image: 5 minutes
Simply navigate to designer.microsoft.com, describe what you want, and generate. The simplicity enables focusing on creative direction rather than platform navigation.
For Users Wanting More Daily Generations
Start with: Freepik (free tier)
Why this choice:
20 daily credits enabling 4-5 images daily
Access to multiple AI models (Flux, Gemini, ChatGPT variants)
Enables experimentation with different platforms
Generous free tier relative to alternatives
Commercial usage rights included
Time to first image: 10 minutes
Freepik's interface requires slightly more navigation but provides substantially more daily generation capacity than alternatives.
For Mobile-First Users
Start with: WOMBO Dream (mobile app)
Why this choice:
Unlimited generations (with watermarks)
Optimized for iOS and Android
Intuitive mobile interface
Community-shared prompts enabling inspiration
No desktop dependency required
Time to first image: 5 minutes
Download the app, create account, write prompt, generate. Mobile-first design prioritizes simplicity.
Step Two: Your First Image—The Practical Process
Rather than abstract concepts, let's walk through creating your first actual image step-by-step using Microsoft Copilot Designer (our recommended starting point).
Phase One: Platform Access (2 minutes)
Navigate to designer.microsoft.com in your web browser
Sign in with Microsoft account (create free account if needed)
Observe the clean interface with text input area and "Create" button
That's it. You're ready to generate.
Phase Two: Writing Your First Prompt (3 minutes)
Rather than overthinking, start simple. Describe what you want to see using conversational language.
Beginner-Appropriate First Prompt:
"Create a peaceful landscape photograph. A calm lake reflecting mountains in the background. Trees along the shoreline. Golden hour lighting with warm colors. Serene, contemplative mood."
Key points:
Concrete subject (lake landscape)
Specific setting details (mountains, trees, shoreline)
Lighting specification (golden hour, warm)
Emotional direction (serene, contemplative)
Phase Three: Image Generation (1 minute)
Type your prompt into the text field and click "Create." Wait 30-60 seconds while the system generates your image. The interface shows progress as generation completes.
Phase Four: Evaluation (2 minutes)
Once generated, examine the result against your original vision:
Did it capture the subject you described?
Does lighting match your specification?
Is the mood appropriate?
What surprised you?
What could improve?
This evaluation phase matters because it teaches you how prompts influence outputs—crucial for iterative improvement.
Phase Five: Iteration (Optional, 5 minutes)
If unsatisfied, modify your prompt based on what you learned from the first generation. Rather than completely rewriting, surgical modifications often prove most effective.
Iteration Example:
Original prompt produced landscape but wrong time of day. Revised prompt: "Create a peaceful landscape photograph. A calm lake reflecting mountains in the background. Trees along the shoreline. Sunset lighting with orange and purple colors. Serene, contemplative mood."
The specific modification—changing "golden hour" to "sunset lighting with orange and purple"—guides the system toward desired color palette without wholesale rewriting.
Step Three: Mastering Prompt Structure
Your second and third images should focus on understanding how prompt structure influences results. This foundational skill enables dramatic output quality improvement.
The Essential Prompt Framework
Successful prompts follow consistent structure organizing information into distinct categories:
1. Subject Definition
What is the primary focus?
Specific characteristics? Age, appearance, clothing, material?
Example: "An elderly woman with gray hair, warm smile, wearing a traditional hand-knit wool sweater in cream color"
Better than: "An old woman"
2. Setting and Context
Where does this exist?
What surrounds the subject?
Example: "Standing in a sunlit living room with wooden furniture, bookshelves, warm afternoon light streaming through windows"
Better than: "Indoors"
3. Artistic Direction and Style
What artistic approach guides rendering?
Photography style? Painting style? Illustrative approach?
Example: "Photographed in warm documentary photography style, natural lighting, genuine expression, intimate portrait aesthetic"
Better than: "Nice photo"
4. Lighting and Atmosphere
What illumination quality?
What mood?
Example: "Soft natural light from side window, warm color temperature, peaceful contemplative atmosphere"
Better than: "Good lighting"
Complete Structured Prompt:
"An elderly woman with gray hair, warm genuine smile, wearing a cream-colored hand-knit wool sweater. Standing in a sunlit living room with wooden bookshelves behind her, afternoon light streaming through windows. Photographed in warm documentary photography style with soft natural side-lighting. Peaceful contemplative atmosphere, intimate portrait aesthetic, genuine expression."
Compare this to: "Old woman portrait"
The structured version guides systems toward your actual vision; the vague version produces generic default output.
Step Four: Understanding Common Beginner Mistakes
Learning what not to do accelerates improvement. These common beginner errors undermine results:
Mistake #1: Conflicting Instructions
Example: "Photorealistic but painterly, vibrant but muted colors, dramatic but subtle"
Why it fails: Contradictory specifications confuse the system
Solution: Choose primary aesthetic. If photorealism matters most, don't request painterly quality simultaneously
Mistake #2: Overwhelming Detail
Example: 500-word prompt listing dozens of specifications
Why it fails: Excessive specification overwhelms processing; later instructions often override earlier ones
Solution: Prioritize ruthlessly. Include 5-8 essential details; omit lower-priority information
Mistake #3: Vague Abstract Concepts
Example: "Create an image representing hope and inspiration"
Why it fails: Abstract concepts don't translate directly to visual elements
Solution: Translate abstraction to concrete imagery. "A person reaching toward sunlight breaking through clouds" conveys hope more effectively
Mistake #4: Expecting Perfection Immediately
Example: Generating once and using whatever emerges
Why it fails: Exceptional results typically require iteration
Solution: View first generation as starting point. Iterate based on evaluation, progressively refining toward your vision
Step Five: Practical Application—Your Second Week
Once you've generated a few test images, transition to purposeful application. This week's challenge: generate three images for actual use.
Project One: Personal Portfolio
Create an image representing your professional or personal brand. Spend time on prompt development. Iterate until satisfied. This forces intentional thinking about your actual needs rather than abstract experimentation.
Project Two: Social Media Content
Generate an image appropriate for a social media post. Consider platform conventions, aspect ratios, and engagement principles. Does your generated image work within social media context?
Project Three: Exploration
Pick a subject you're personally interested in and explore it through AI generation. Generate 5-10 variations with different styles, lighting, or approaches. This experimentation builds intuition about how prompts influence outcomes.
Step Six: Quality Evaluation Checklist
Developing critical evaluation skills distinguishes exceptional results from mediocre ones. Before finalizing any image, assess:
| Quality Dimension | Evaluation Questions |
|---|---|
| Subject Accuracy | Did the system accurately interpret your subject description? |
| Detail Consistency | Are details consistent (same person has both hands, correct number of fingers)? |
| Lighting Coherence | Does lighting direction remain consistent throughout the image? |
| Composition | Does framing align with your vision? |
| Mood/Atmosphere | Does emotional quality match your intent? |
| Technical Quality | Are there obvious artifacts or distortions? |
| Style Consistency | Does artistic approach remain consistent? |
Common Questions: Your First Week
Why is my image quality inconsistent?
Probabilistic generation produces variable results even with identical prompts. This randomness improves results through multiple generations and selection.
How do I get more generations if I hit daily limits?
Most free platforms reset daily limits at midnight. Upgrade to paid tiers if consistent high-volume generation needed.
Can I edit generated images afterward?
Yes. Many platforms include editing tools. You can also use external design software (Photoshop, GIMP) for post-generation refinement.
What if my image contains copyrighted elements?
Unlikely from AI generation (systems produce novel combinations rather than exact copies). However, verify before commercial use—some jurisdictions have unsettled copyright questions around AI-generated content.
Should I learn multiple platforms?
Eventually yes, but start with one. Master one platform thoroughly before exploring others.
How long until I'm "good" at AI image generation?
Most beginners develop competence within 1-2 weeks of deliberate practice. Professional mastery requires 2-3 months of consistent experimentation.
Your 30-Day Learning Path
Week 1: Fundamentals
Days 1-3: Create 10 practice images focusing on prompt clarity
Days 4-7: Focus on single subject (portraits, landscapes, objects) with systematic variation
Week 2: Skill Development
Days 8-10: Explore different styles and artistic approaches
Days 11-14: Create images for actual application
Week 3: Specialization
Days 15-21: Deep dive into your specific use case (marketing, personal projects, creative exploration)
Develop prompt library documenting successful approaches
Week 4: Mastery Exploration
Days 22-28: Explore advanced features (image references, parameters, specialized platforms)
Consider upgrading to paid tier if value demonstrated
Days 29-30: Reflection and Planning
Evaluate progress
Identify next learning objectives
Plan ongoing implementation
Frequently Asked Questions: Beginner Essentials
Do I need artistic ability to succeed?
No. AI image generation democratizes visual creation—artistic skill helps but isn't required. Clear description matters more than artistic ability.
Which platform is truly "best" for beginners?
No universal best exists. Microsoft Copilot Designer and Freepik both work well—choose based on whether daily generation capacity matters to you.
How much money should I budget?
Starting completely free is viable. Budget $10-20 monthly if you progress to paid subscriptions. Heavy volume users might spend $50-100+ monthly.
Can I use generated images commercially?
Most free tiers permit commercial use with proper attribution. Verify specific platform terms before commercial deployment.
What if I have no creative ideas to prompt?
Start with exploration—generate images based on interests, examine community-shared prompts for inspiration, or describe photographs you admire and request similar AI versions.
How many iterations until results improve noticeably?
Most users report noticeable improvement after 10-20 intentional generations focused on understanding prompt influence.


Comments (0)
No comments found